
How to Make Candles at Home: A Complete Beginner's Guide
You melt wax, add fragrance, pour it into a jar with a wick, and wait. That really is it. My wife and I made our first candle on our kitchen counter in 2019 using a cheap pot, some soy wax we found online, and a YouTube video. That candle was terrible — the wick drowned, the scent was barely there, and the surface looked like a moon crater. But we were hooked. Three years and thousands of candles later, I run a workshop in Dubai and supply wax to candle makers across the GCC. Here is the exact process I teach in my beginner classes, minus the trial and error I went through.
Gather Your Materials First
Don't start melting wax until everything is within arm's reach. Hot wax doesn't wait for you to go find your thermometer in a drawer.
The Supply List
- Wax — 500g of soy wax or coconut-soy blend (I use M12 soy for teaching beginners)
- Pre-tabbed wicks — cotton or wood, sized for your jar diameter
- Heat-safe containers — glass jars, ceramic vessels, or tin cans (nothing that cracks with heat)
- Fragrance oil — IFRA-certified, made specifically for candle use, not diffuser oil
- A double boiler setup — a pouring pot sitting inside a larger pot of water
- Digital thermometer — I keep saying this to every student: don't guess temperatures
- Kitchen scale — one that reads to 0.1g, you can grab one for under AED 50
- Wick centering tool — or two chopsticks and a piece of tape
Setting Up Your Workspace
Lay newspaper or parchment paper across your counter. Wax drips aren't a safety hazard but they're annoying to scrape off tile. Keep paper towels close. Work near a window or vent if you can, and never walk away from wax on the stove. I also keep a small fire extinguisher in my workshop — not because I've ever needed it, but because the National Candle Association safety guidelines recommend it and it's common sense.
Melting and Measuring Your Wax
Weighing the Right Amount
Use your scale. Always. For a 250ml glass jar, weigh out about 200g of wax. A trick I picked up early: fill your empty jar with wax flakes, dump those flakes onto the scale, and double that weight. That gives you enough melted wax to fill the jar with a little extra.
Getting the Temperature Right
Put your wax in the pouring pot, set it inside a bigger pot with a few inches of simmering water. Stir occasionally. Watch your thermometer.
Melt Point Targets
- Soy wax (M12): 76-82 degrees Celsius
- Coconut wax: 70-76 degrees Celsius
- Coconut-soy blends: 74-80 degrees Celsius
- Paraffin: 82-90 degrees Celsius
Don't push past 90 degrees for natural wax. I burned a batch of coconut wax early on by cranking the heat because I was impatient. The wax turned yellow and the fragrance smelled scorched. Lesson learned the expensive way.
Preparing Your Wicks and Containers
While your wax melts, get your jars ready. Dip the metal wick tab into a tiny bit of melted wax and press it hard against the center bottom of your jar. Hold it there for 30 seconds. It needs to stick firmly — a wick that drifts off center will tunnel the candle and waste wax.
Keeping the Wick Centered
Lay a wick centering tool across the mouth of the jar, or just tape the wick to two chopsticks balanced on the rim. The wick has to stay dead straight while the wax cools. I've thrown away candles because the wick leaned 5mm to one side. If you want to understand wick sizing better, I wrote a separate guide on cotton vs wooden wicks that goes deep on this.
Adding Fragrance Oil
This step trips up more beginners than anything else. The temperature when you add fragrance oil determines whether your finished candle actually smells good or barely registers.
The Temperatures That Actually Work
- Soy wax: add fragrance at 60-65 degrees Celsius
- Coconut wax: add fragrance at 55-60 degrees Celsius
- Blends: add fragrance at 58-63 degrees Celsius
Why Temperature Matters So Much
Too hot and the fragrance volatiles evaporate right out of the wax. Too cool and the oil sits on top without bonding to the wax molecules. I tested this obsessively during my first year — same wax, same fragrance, same jar, different addition temperatures. The candles where I added fragrance at 62 degrees (soy) threw scent noticeably better than ones where I added it at 75 degrees.
How Much Fragrance to Use
Start at 8% fragrance load by weight. For 200g of wax, that's 16g of fragrance oil. Stir for a solid two minutes after you add it. Not a quick swirl — two full minutes of steady stirring. This distributes the fragrance evenly through the wax, and it makes a real difference in how consistently the candle throws scent from first burn to last.
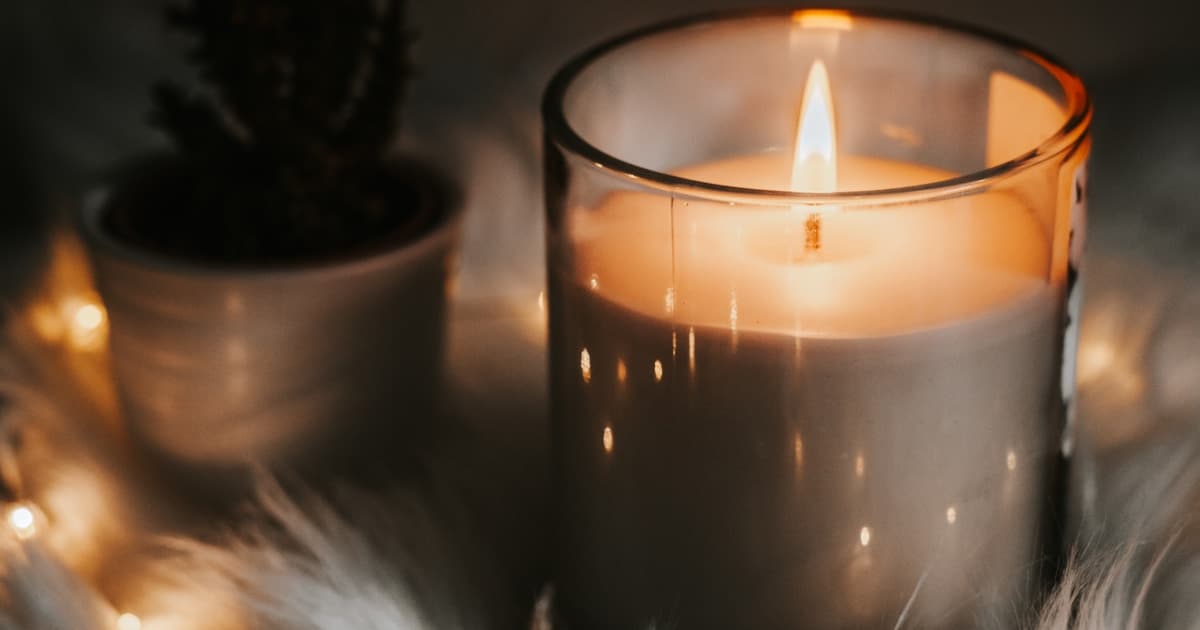
Pouring Your Candle
Let the wax cool to 55-60 degrees for soy, then pour in a slow, steady stream. Pouring too hot causes sinkholes. Pouring too cool gives you ugly adhesion lines on the glass.
Fixing Common Pour Problems
Sinkholes Around the Wick
You poured too hot. Not a disaster — poke a couple of holes near the wick with a skewer after the surface skins over, then do a thin second pour to level it out. I still get sinkholes occasionally, usually when I'm rushing.
Wet Spots on Glass Containers
Those patchy areas where the wax separates from the glass are cosmetic only. They happen when the candle cools unevenly. Keeping your room at a stable temperature during cooling helps. In my Dubai workshop, I pour with the AC set to exactly 23 degrees and I don't open the door until the candles are fully set.
White Frosting on Soy Wax
Soy wax frosts. That's just what it does — it's natural crystallization. It looks like a white film on the surface. Pouring a degree or two warmer can reduce it, but I've never fully eliminated it. Customers who know candles understand this is a sign of natural wax.
Curing: The Step Everyone Skips
Here's where patience pays off. After pouring, don't touch those candles for at least 48 hours. Better yet, wait two weeks before you burn them.
Why Curing Changes Everything
During curing, the fragrance oil molecules bond fully with the wax. A candle you burn on day one has maybe 40% of the scent throw it would have after a two-week cure. I ran side-by-side tests — same batch, one burned at 48 hours, one at 14 days. The cured candle filled my workshop. The uncured one barely scented the table it sat on.
Curing in Dubai's Climate
This is important if you're making candles here. Don't cure your candles in a room without AC. Dubai summer temps hit 45+ degrees and the humidity can wreck your surface finish. I cure everything in a climate-controlled room set to 22-24 degrees. If you're working from an apartment, just keep them in your coolest room with the AC running.
Picking Your First Wax
Soy wax. That's my answer for beginners, every time. It's forgiving, it's affordable (AED 35-55 per kilo), and it burns clean. Coconut wax throws scent better but costs more and is slightly trickier to work with. Once you have a few batches under your belt, try a coconut-soy blend — I cover the differences in my coconut wax vs soy wax comparison.
Skip paraffin for now. It needs tighter temperature control, produces more soot, and honestly, the market here in Dubai has moved toward natural wax candles anyway.
Mistakes I Made So You Don't Have To
Wrong Wick Size
My first 50 candles all tunneled because I used wicks that were too small. The wax melted in a narrow hole around the wick and never reached the glass walls. I wasted a lot of wax before I figured out that wick sizing is the most technical part of candle making. Always test burn before you sell or gift a candle.
Eyeballing Instead of Weighing
I measured fragrance by "feel" for my first few months. Some candles smelled amazing, others smelled like plain wax. The day I started weighing everything to the gram, my consistency problems disappeared.
Burning Candles Before They Cured
I was so excited about my early candles that I would light them the same evening. Weak scent, every time. Now I won't let anyone burn a candle from my workshop until it's cured for at least a week.
FAQ
These are the questions I hear most in my beginner workshops here in Dubai. If yours isn't here, reach out — I'm always happy to help someone get started with candle making.
Recommended resource from National Candle Association
National Candle Association Safety Guidelines→Frequently Asked Questions
How long does it take to make a candle from start to finish?
The hands-on work takes about 30-45 minutes per batch. However, candles need 24-48 hours of curing time before they're ready to burn. For soy and coconut wax, I recommend a full 2-week cure for optimal scent throw.
Can I make candles in my Dubai apartment?
Yes, candle making is perfectly suited for apartment living. You need minimal space, the process is low-mess if you prepare properly, and there aren't any fumes if you work with natural waxes at correct temperatures. Many of my customers run successful candle businesses from their Dubai homes.
What is the cheapest wax for beginners?
Paraffin wax is the cheapest option, but I don't recommend it for beginners because it requires more skill to achieve a clean burn. Soy wax is affordable, forgiving, and produces excellent results. Budget around AED 40-60 per kilogram for quality soy wax.
Do I need a thermometer for candle making?
Absolutely yes. Temperature control is the single most important factor in candle making. Pouring at the wrong temperature causes sinkholes, frosting, poor scent throw, and wet spots. A basic kitchen thermometer works, but a digital infrared thermometer is a worthwhile investment.
How much fragrance oil should I add to candle wax?
Most waxes handle a 6-10% fragrance load by weight. For example, 500g of wax takes 30-50g of fragrance oil. Always check your wax manufacturer's maximum load recommendation and your fragrance oil's IFRA usage rate. More isn't better — overloading causes sweating, poor burns, and safety issues.
About the Author
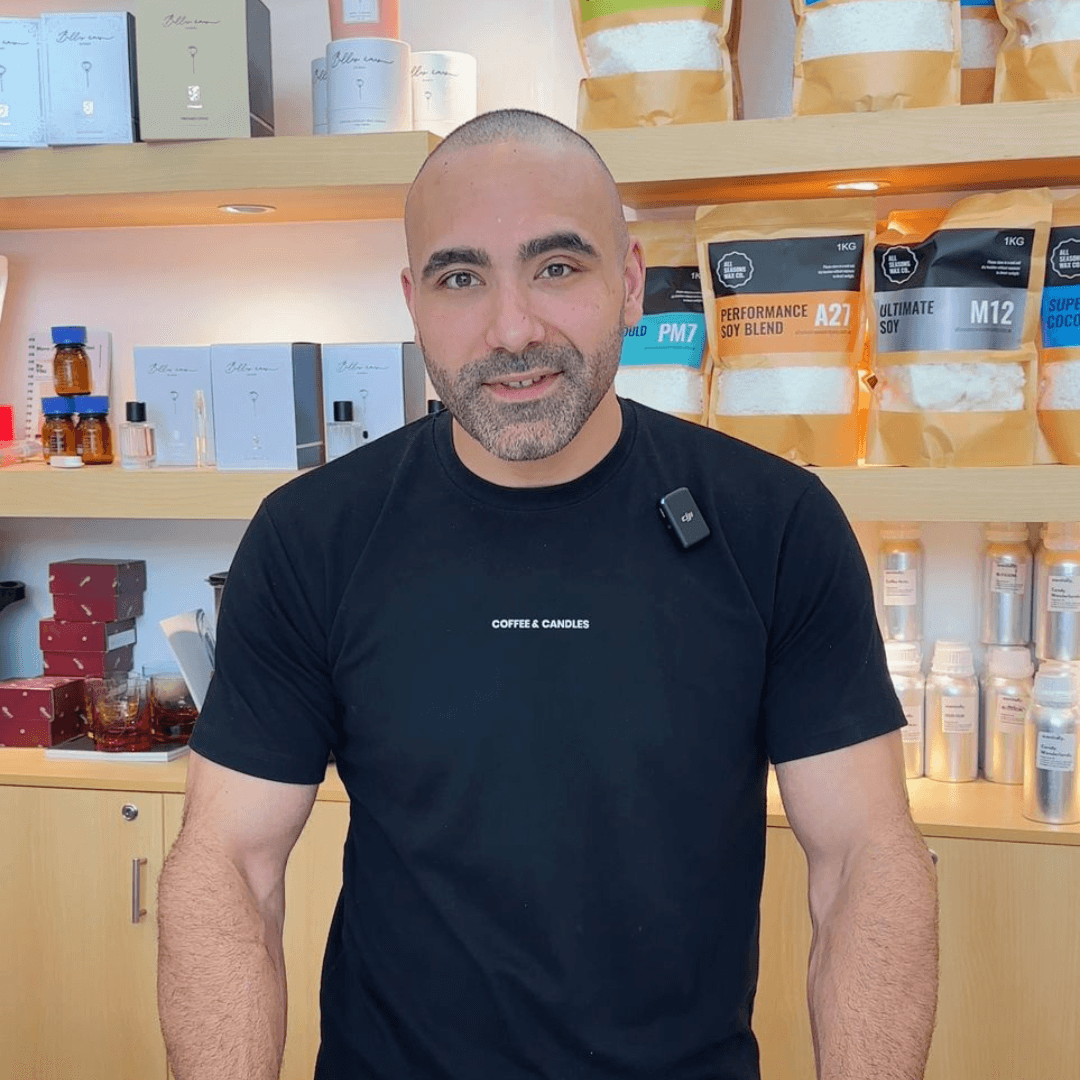
Ahmed Al Hassoni
Perfumer trained in Grasse, France. I founded CandleStart — the GCC's largest candle and perfume-making supply hub — and have trained hundreds of makers across the region. I also build tools for the fragrance industry through Olfactal, ScentDesk, and WaxHippo.
Related Articles
Coconut Wax vs Soy Wax: Which Is Better for Candles?
Coconut wax vs soy wax compared on burn quality, scent throw, sustainability, and cost. Expert breakdown from Dubai's certified candle wax supplier.
Best Candle Wicks Guide: Cotton vs Wooden Wicks Explained
Complete candle wick guide comparing cotton and wooden wicks. Covers sizing, testing, burn pool, mushrooming, and the crackling effect. Expert advice from Dubai.